How to Turn a YouTube Video into an Editable Mind Map
Convert a long YouTube tutorial into an editable mind map, refine its structure, and keep the result connected to your transcript and study notes.
Why turn a YouTube video into a mind map?
A long tutorial can contain a useful learning path, but that path is rarely visible while you are watching. The presenter introduces a topic, explains several supporting ideas, demonstrates a process, and returns to earlier concepts. When all of that information stays inside a video timeline, reviewing it means replaying large sections or searching through scattered notes.
A mind map changes the format. It places the main idea at the center and turns supporting topics, steps, examples, and decisions into connected branches. You can scan the structure before a second viewing, identify gaps in your understanding, and add your own notes without rewriting the entire video.
The important part is not simply generating a picture. A useful video mind map must stay connected to the transcript and chapters that support it. TubeTutor creates those materials inside one project, so you can move from a short node back to the detailed explanation instead of treating the AI output as an independent source.
What you need before you start
Choose a public or otherwise accessible YouTube tutorial, lecture, interview, or knowledge video. Structured videos usually produce clearer maps because their topics and transitions are easier to detect. Videos with poor audio, overlapping speakers, or very little spoken explanation may require more editing after the first result.
You also need to decide which language you want to use for the project. TubeTutor can keep the source language or generate supported project content in another language. Make that choice during preflight so the transcript, chapters, Summary, and Mindmap use a consistent language.
Step 1: Copy the YouTube video URL
Open the video you want to study and copy its URL from the browser address bar or the YouTube share menu. A focused video is easier to map than a collection of unrelated clips. Before processing, ask what you want the map to help you do:
- understand a difficult concept;
- follow a multi-step tutorial;
- prepare revision notes;
- compare several arguments; or
- turn a video into a reusable knowledge resource.
That purpose will guide the edits you make later. A revision map may emphasize definitions and relationships, while a tutorial map may work better as a sequence of prerequisites, actions, and checks.
Step 2: Paste the URL into TubeTutor
Open the TubeTutor YouTube Mind Map Generator and paste the link into the input box.
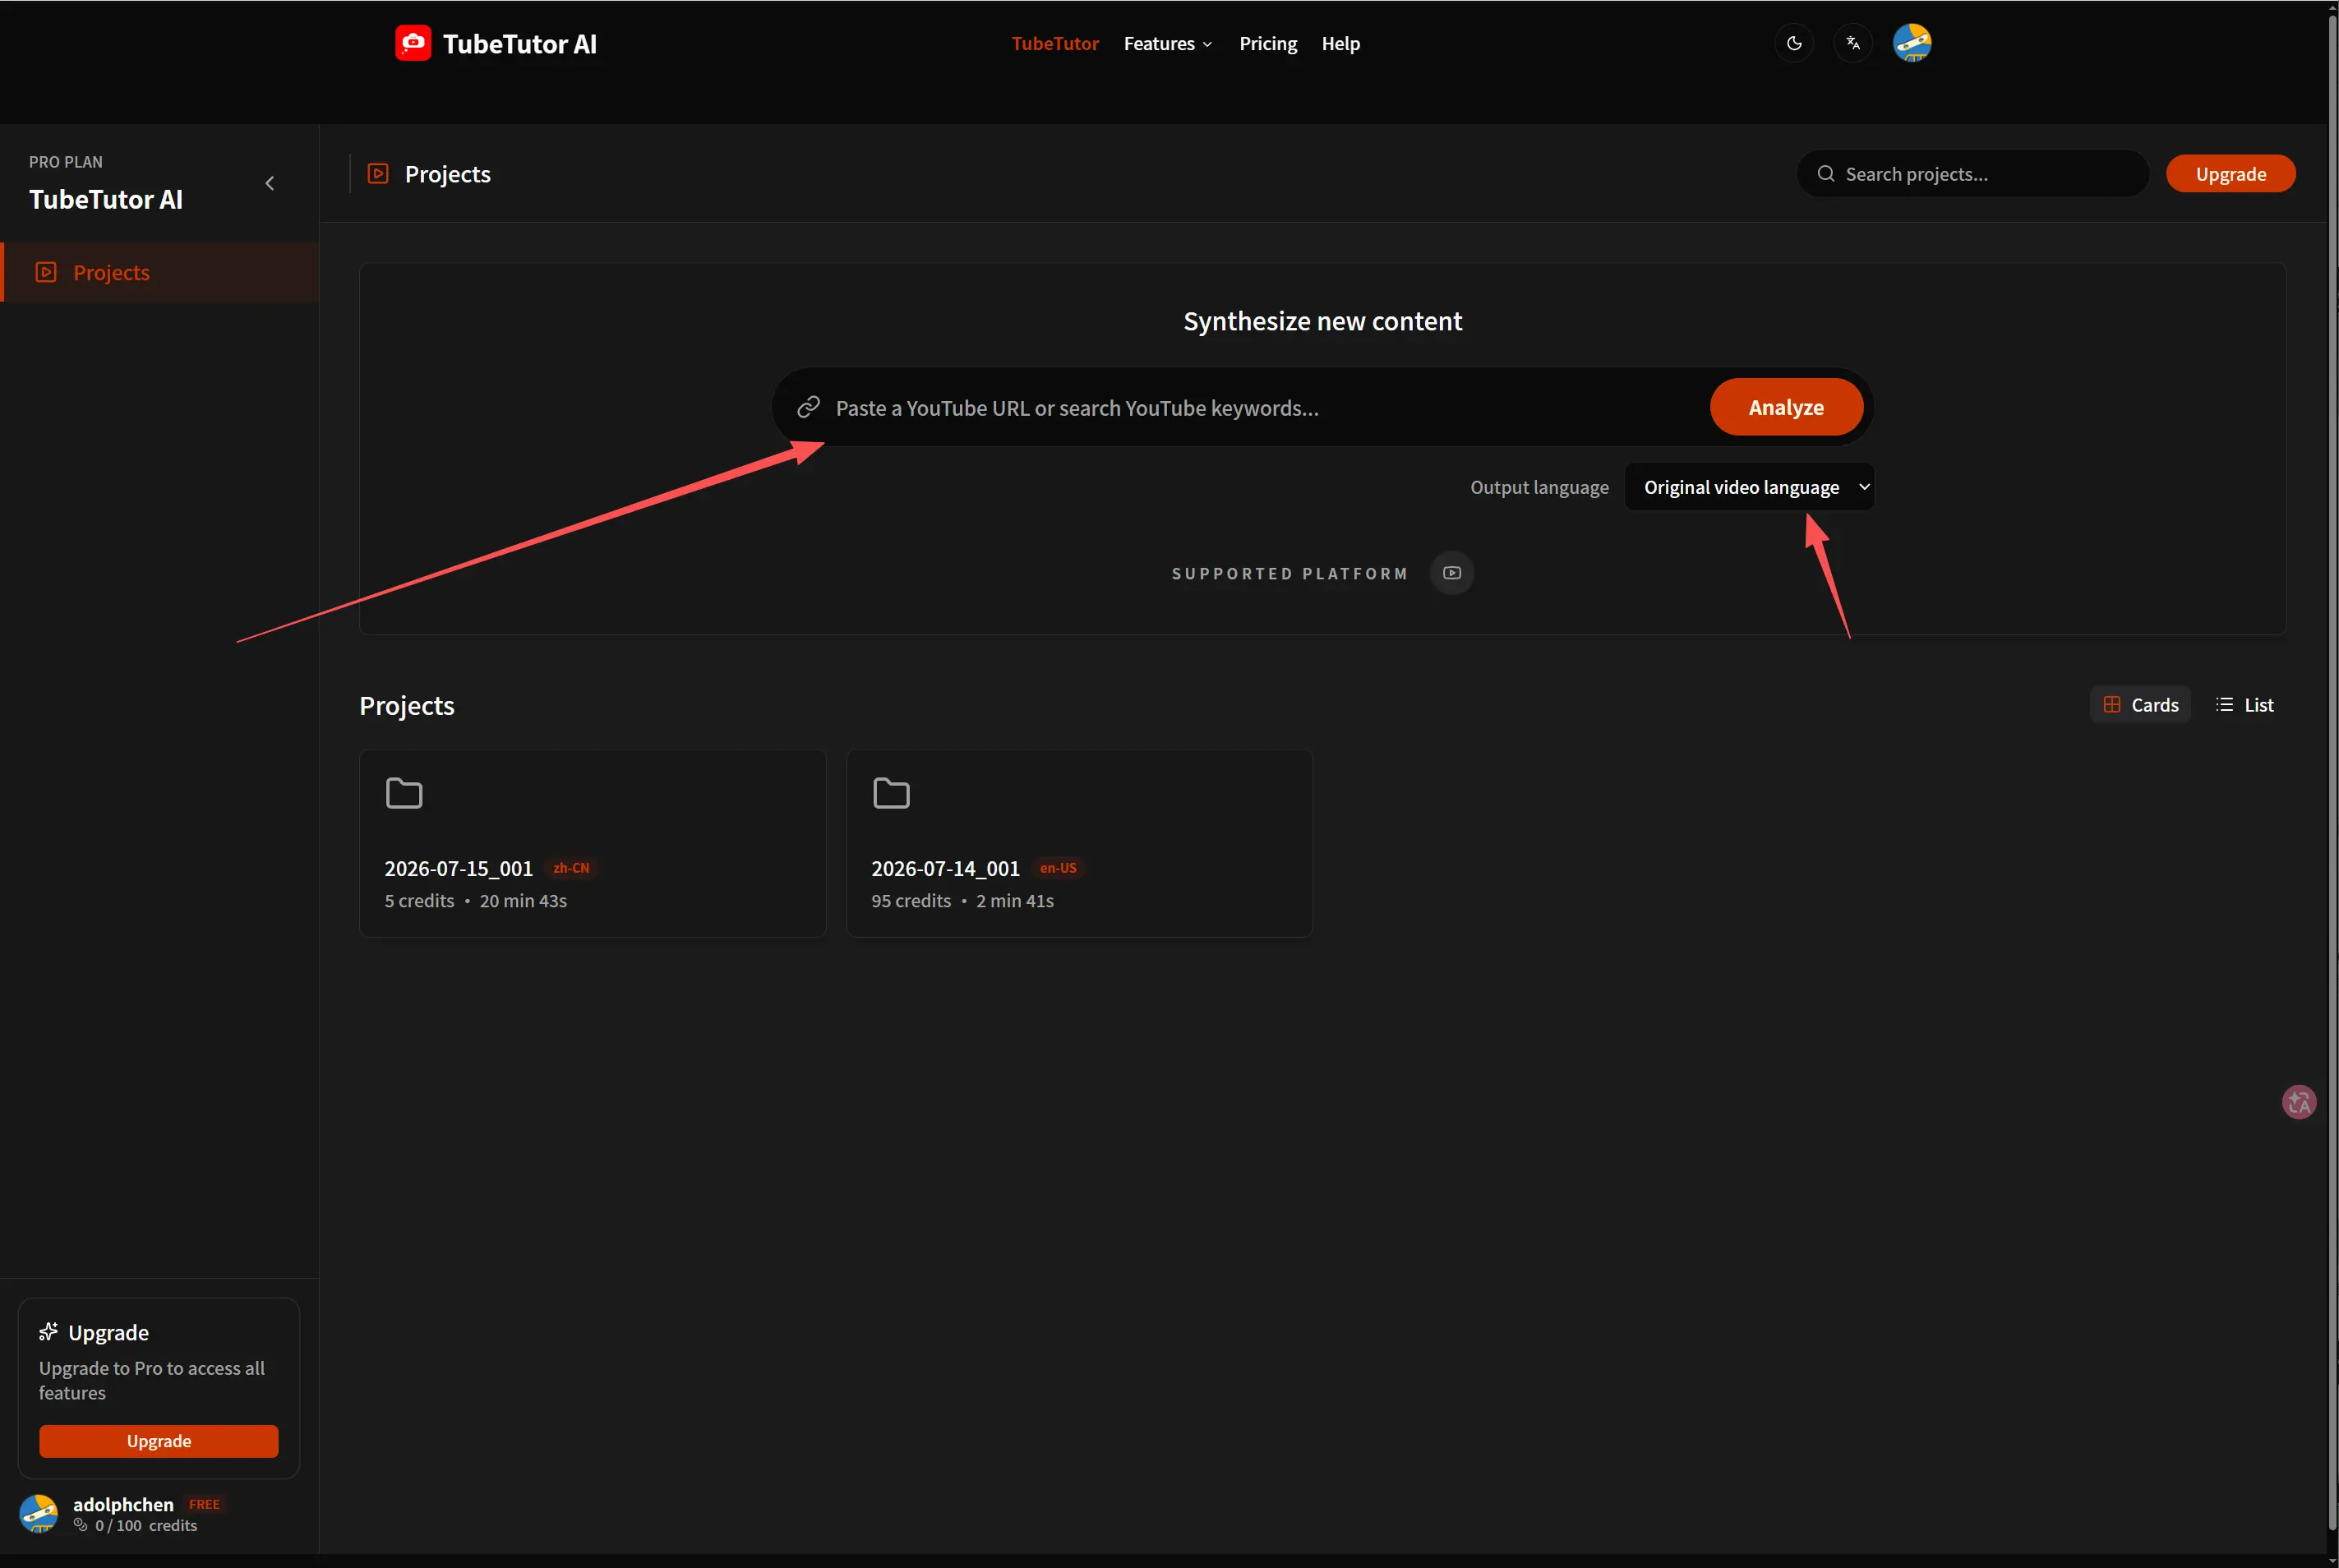
TubeTutor checks the video before creating the project. Review the detected title, source language, caption availability, duration, output language, and active credit estimate after signing in. Native captions are preferred when they are available. If the video has no usable captions, preflight can explain that AI transcription is required. Mindmap requires a signed-in saved project; the guest preview is limited to one cumulative video up to 5 minutes, with one output language, temporary Subtitles, Chapters, the first Summary, and Notes. It does not reset daily.
This checkpoint matters because the mind map depends on the processed transcript and project context. If the wrong video or language appears, correct it before analysis rather than editing an avoidable problem later.
Step 3: Review the transcript, chapters, and Summary
After confirmation, TubeTutor creates a project and processes the base learning materials. Start by checking the synchronized transcript and chapter outline. Click several timestamps and compare important words, names, and technical terms with the source video.
The first automatic Summary gives you a shorter view of the main ideas. Use it as an orientation layer, not as a replacement for the source. If the Summary and chapters reflect the video’s real structure, you have a stronger foundation for the mind map. If a key term is wrong in the transcript, remember that the same error may influence generated nodes.
Step 4: Generate the mind map
Open the Mindmap area in the TubeTutor workspace and request the generation. TubeTutor uses the project transcript and context to organize the main subject and supporting ideas into a graph.
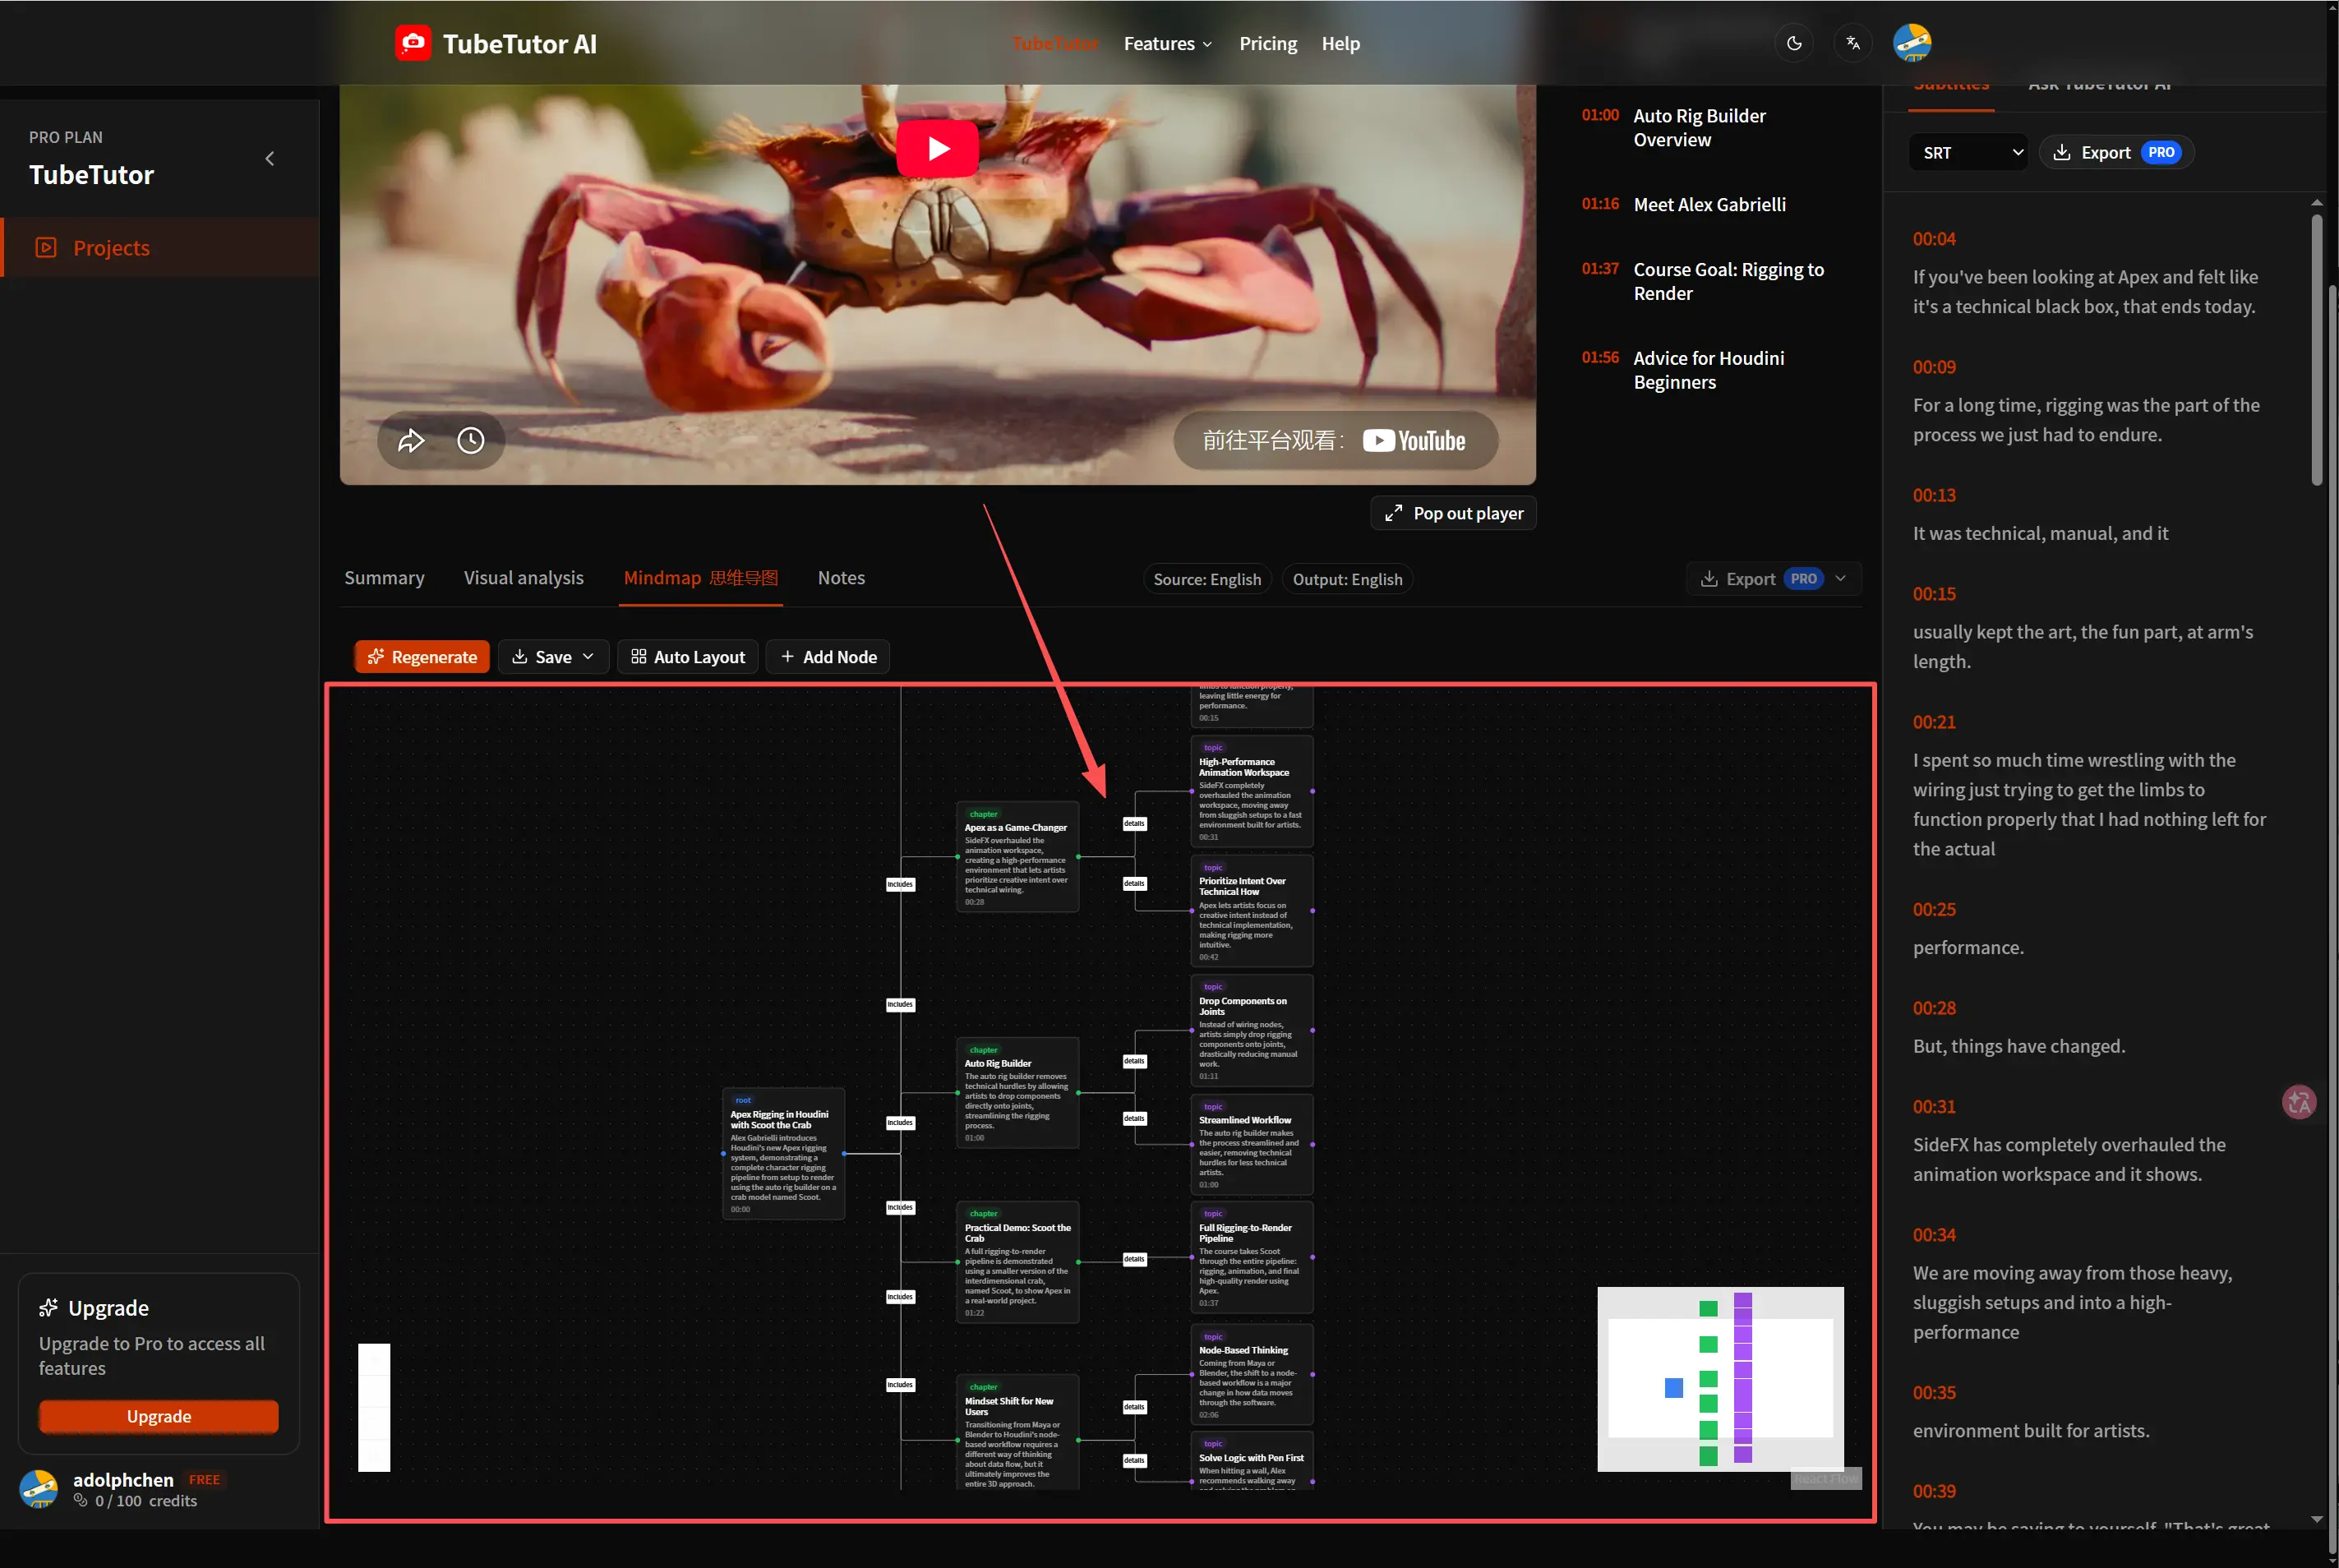
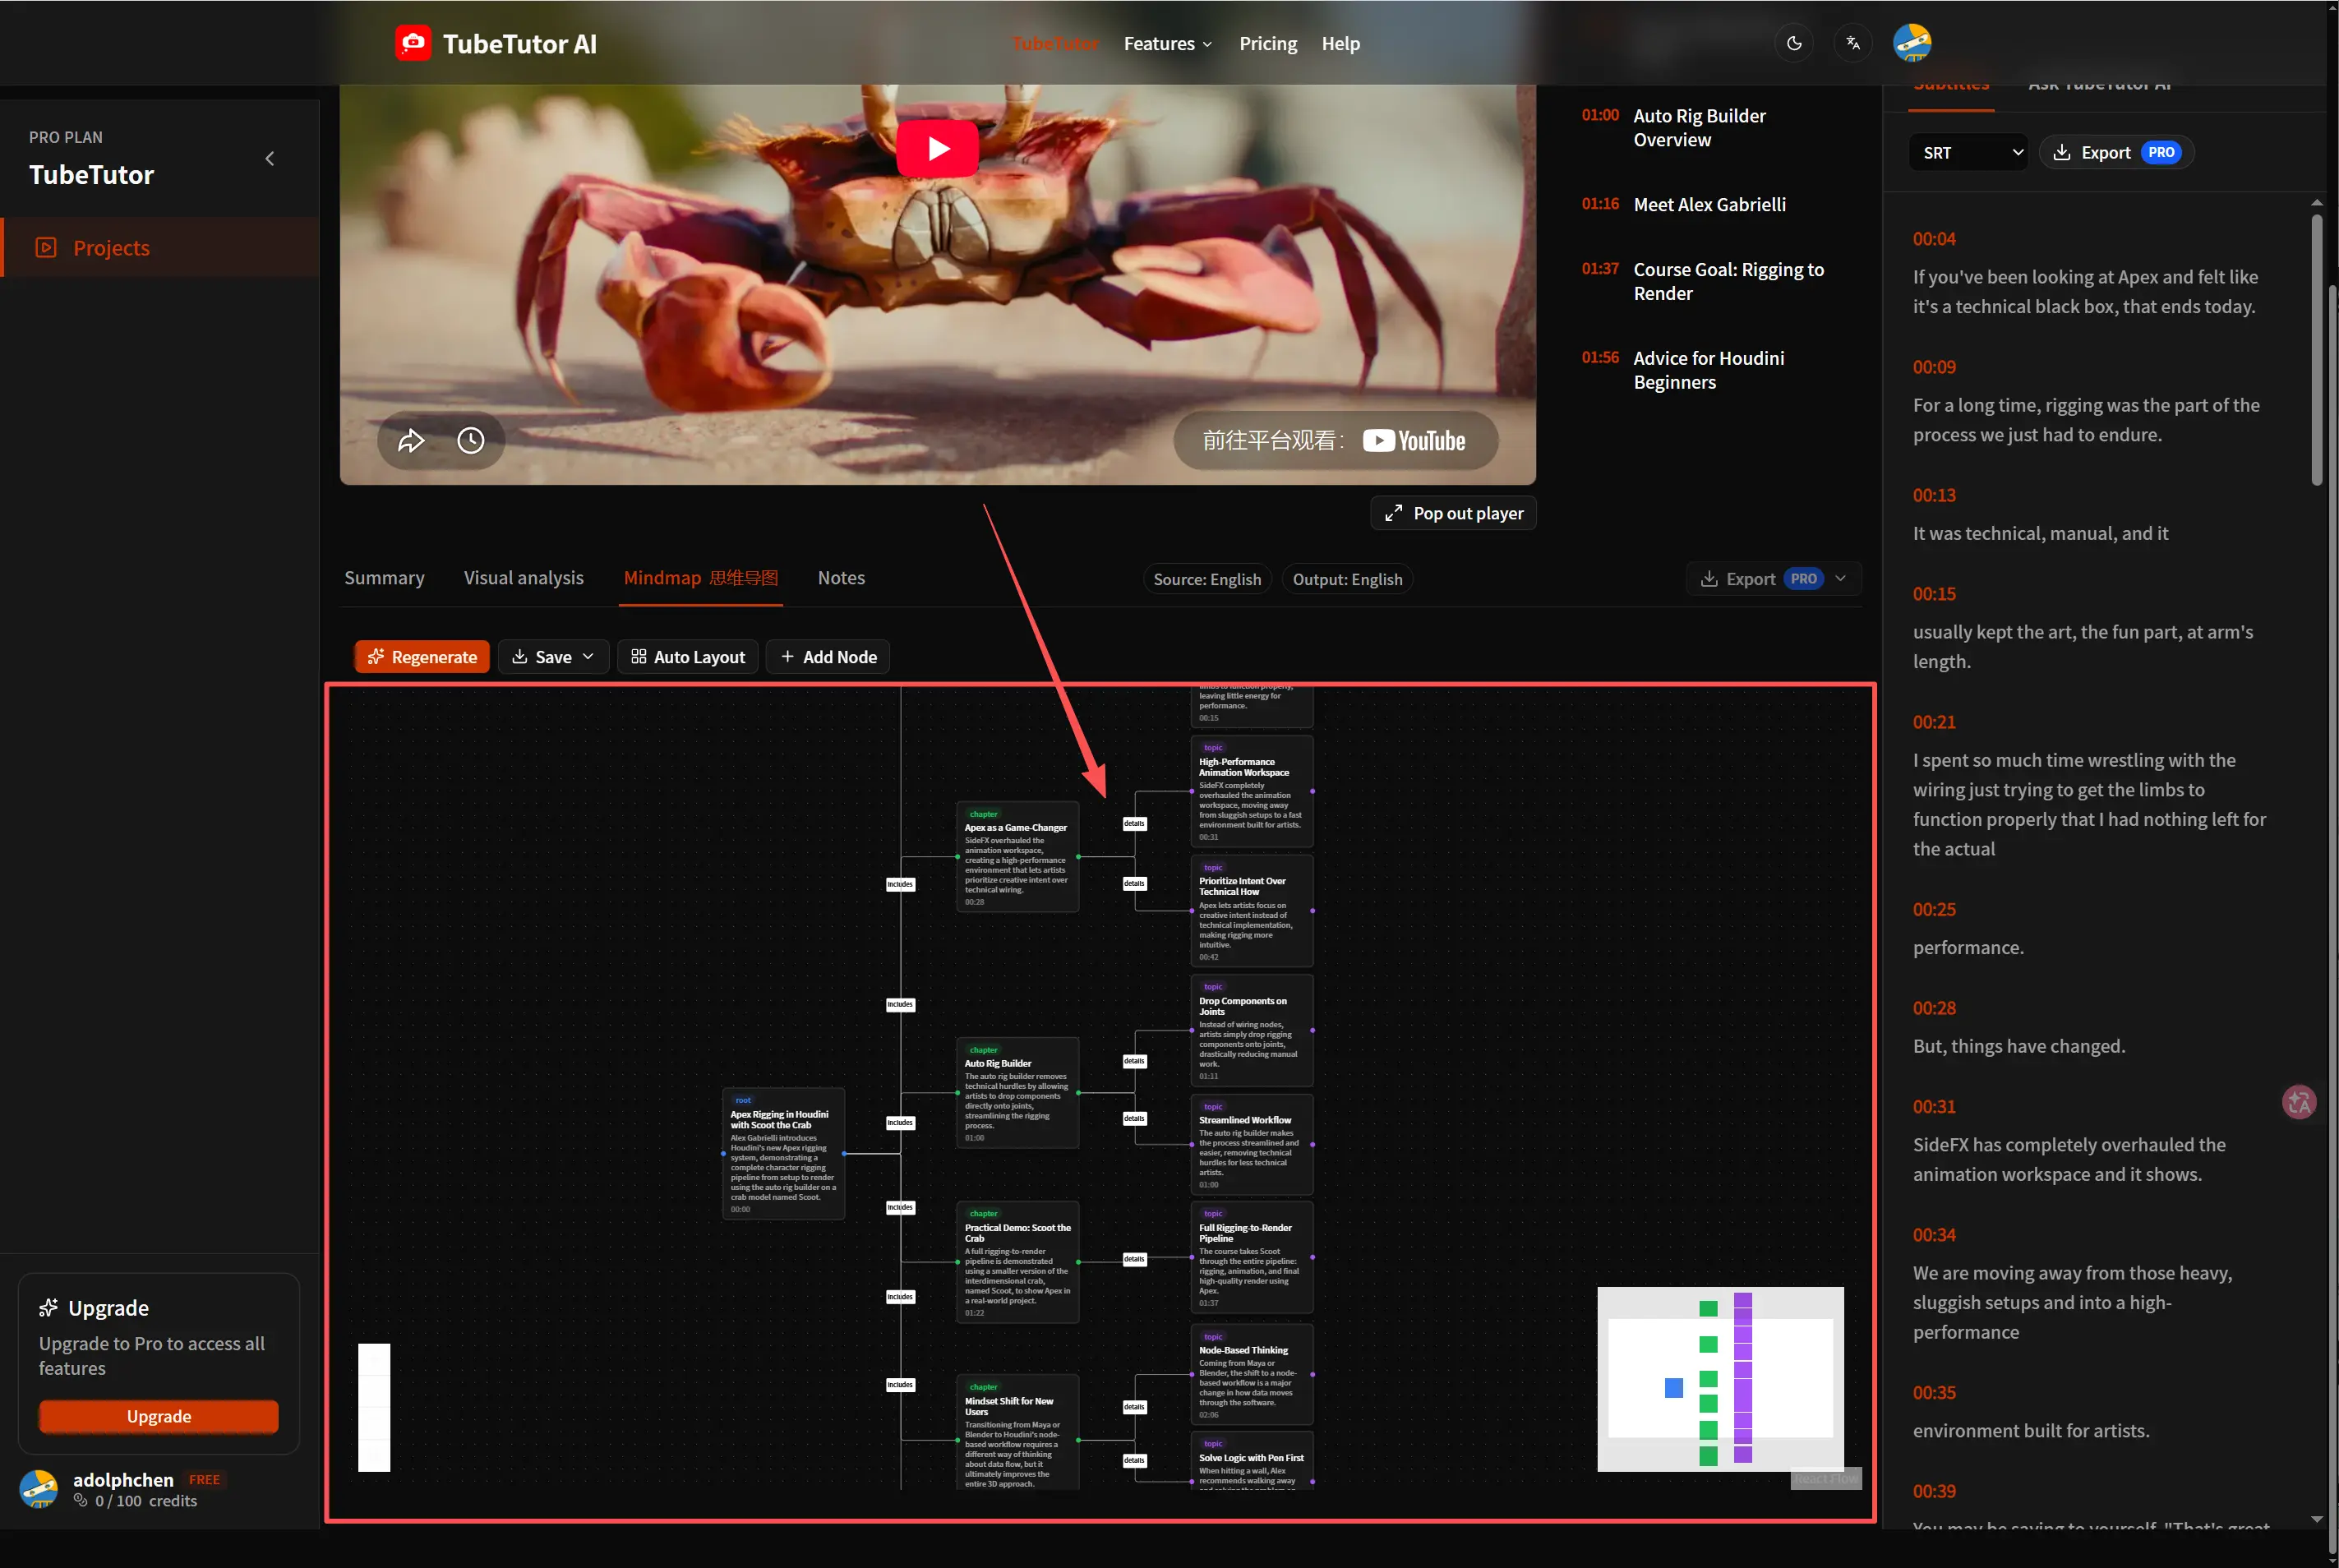
The first map turns the video’s main topics and supporting details into a navigable visual structure.
Read the first result from the center outward. Check whether the central node states the real subject, whether the first-level branches represent distinct themes, and whether detailed nodes sit under the correct parent. A visually balanced map is not automatically an accurate one, so compare any surprising branch with the transcript or source video.
Step 5: Edit the map for your learning goal
The generated map is a draft you can refine. Rename vague nodes, remove repetition, move information under a better parent, and add your own questions or examples. Keep node labels short enough to scan, but do not shorten them until their meaning becomes ambiguous.
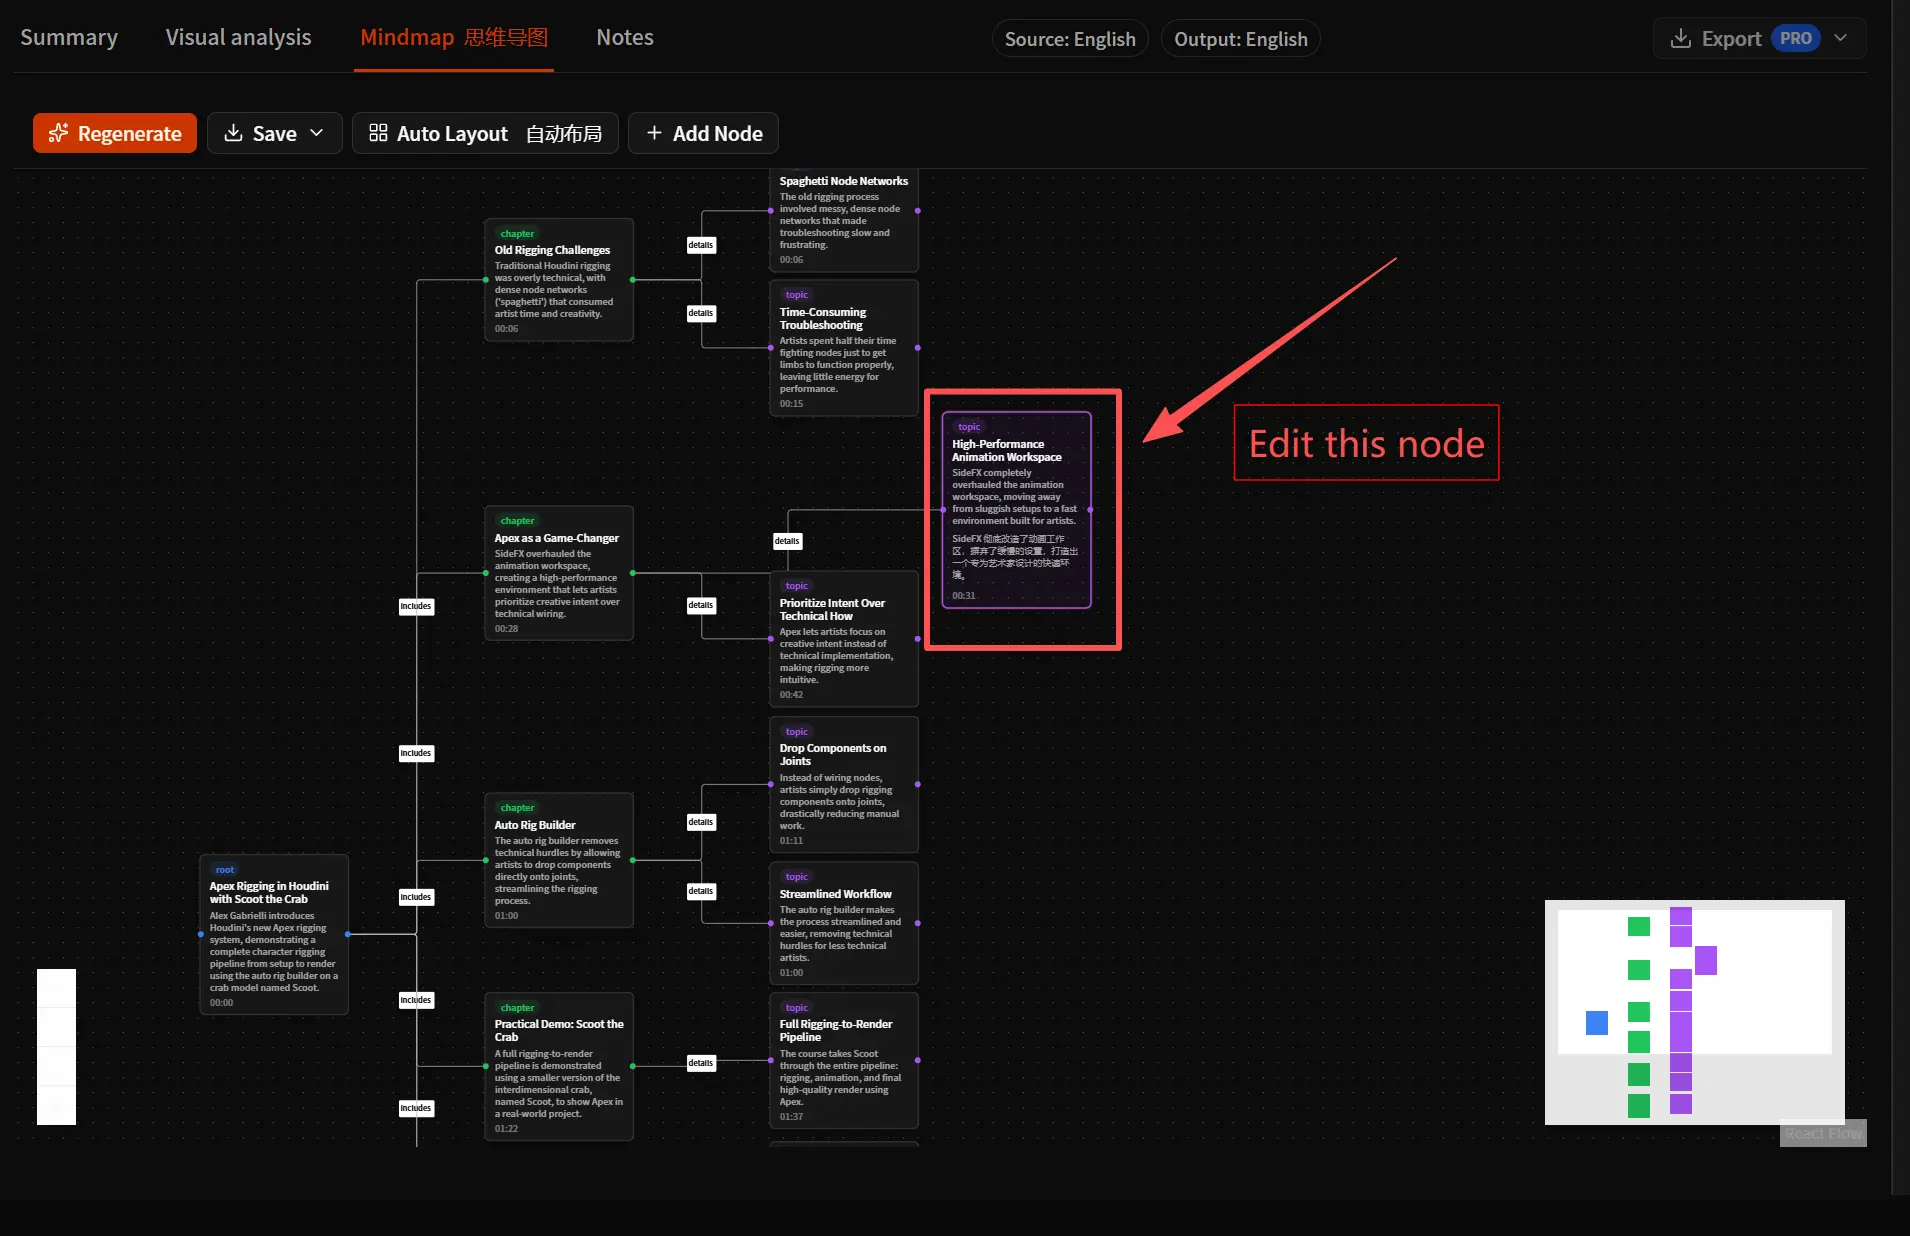
Rename generated nodes so the wording matches your own study vocabulary.
A practical editing pass has three stages:
- Correct the source meaning. Fix names, terminology, or relationships that do not match the video.
- Reduce duplication. Merge branches that explain the same idea with slightly different wording.
- Add personal context. Insert questions, examples, links to prior knowledge, or actions you want to take.
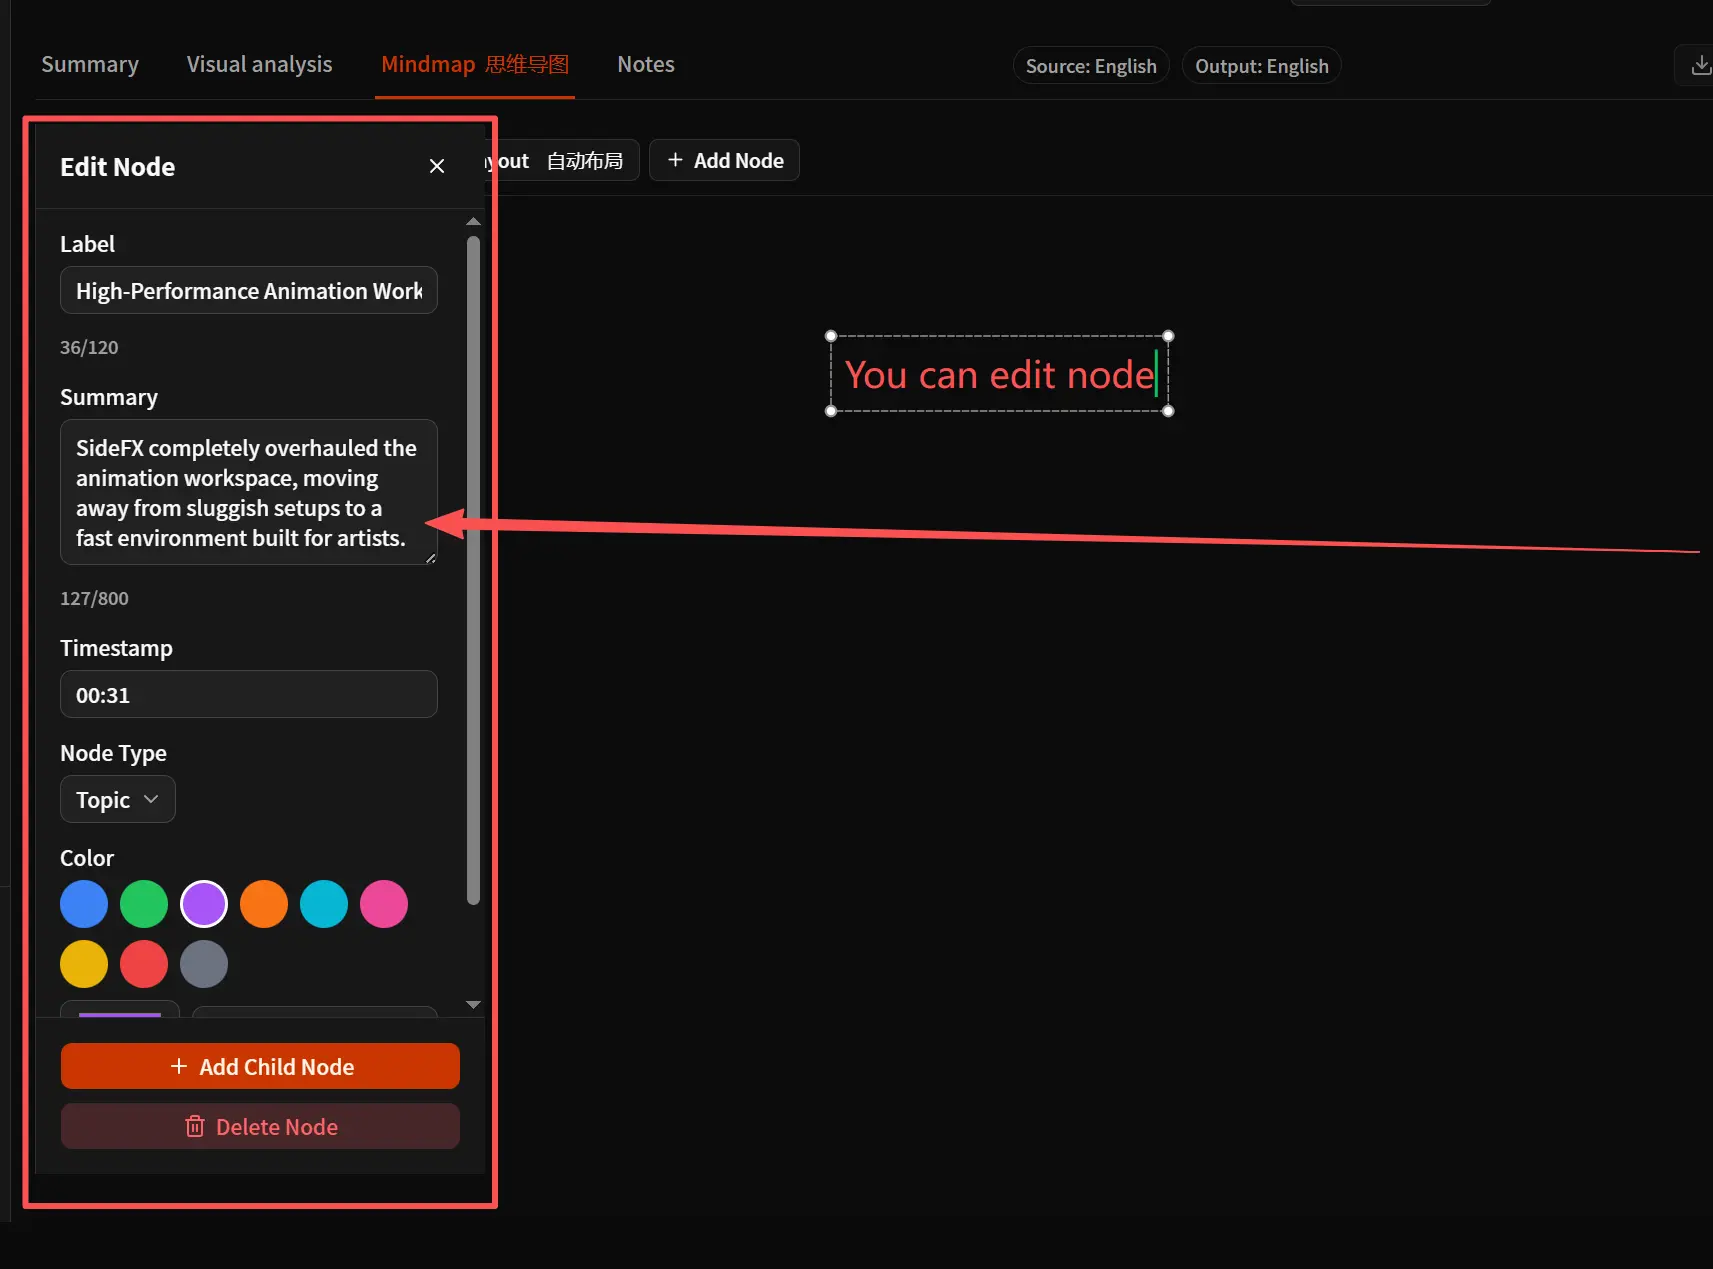
Refine branch structure after checking the generated ideas against the transcript and video.
Step 6: Use the map with the rest of the project
A mind map is most valuable when it supports a larger study workflow. Use the chapters to return to a complete section, the transcript to verify exact wording, and the Summary to review the overall argument. The map then becomes a navigation and recall tool rather than an isolated AI artifact.
For example, you can:
- collapse branches and test whether you can recall the hidden details;
- turn first-level branches into a revision checklist;
- add questions to nodes that remain unclear;
- compare two videos by building a separate map for each; or
- export eligible study materials when you need an offline reference.
If you use Notion, eligible users can send supported study content into their knowledge workflow. Review the generated material before sharing it with a team or treating it as a finished reference.
Common mistakes to avoid
Keeping every generated node
More nodes do not always mean more understanding. Remove low-value repetition and keep the structure aligned with your purpose.
Treating the map as the source
The YouTube video remains the source. AI-generated labels can simplify or misinterpret a point, especially when the transcript contains an error. Verify important claims with the timestamped material.
Mixing several learning goals
A single map that tries to be a transcript, revision guide, project plan, and complete archive becomes difficult to scan. Decide on one primary use and create another version when you need a different structure.
Skipping the editing pass
Personal editing is what turns a generic generated map into a useful learning tool. Even a few changes—renaming the center, reorganizing major branches, and adding questions—make the result easier to remember and reuse.
When a mind map is the right format
Use a mind map when the video explains relationships, categories, a process, or several connected ideas. A synchronized YouTube transcript is better when exact wording matters. A YouTube video summary is better when you need a quick linear overview. TubeTutor keeps these formats in the same project, so you can choose the representation that matches the task instead of forcing every video into one output.
Create your first editable video mind map
Start with one well-structured tutorial and a clear learning goal. Paste the video into the TubeTutor YouTube Mind Map Generator, verify the transcript and chapters, generate the map, and spend a few minutes refining it. The finished result should help you understand the video’s structure and return to the original explanation whenever you need evidence or detail.
Author

Categories
More Posts
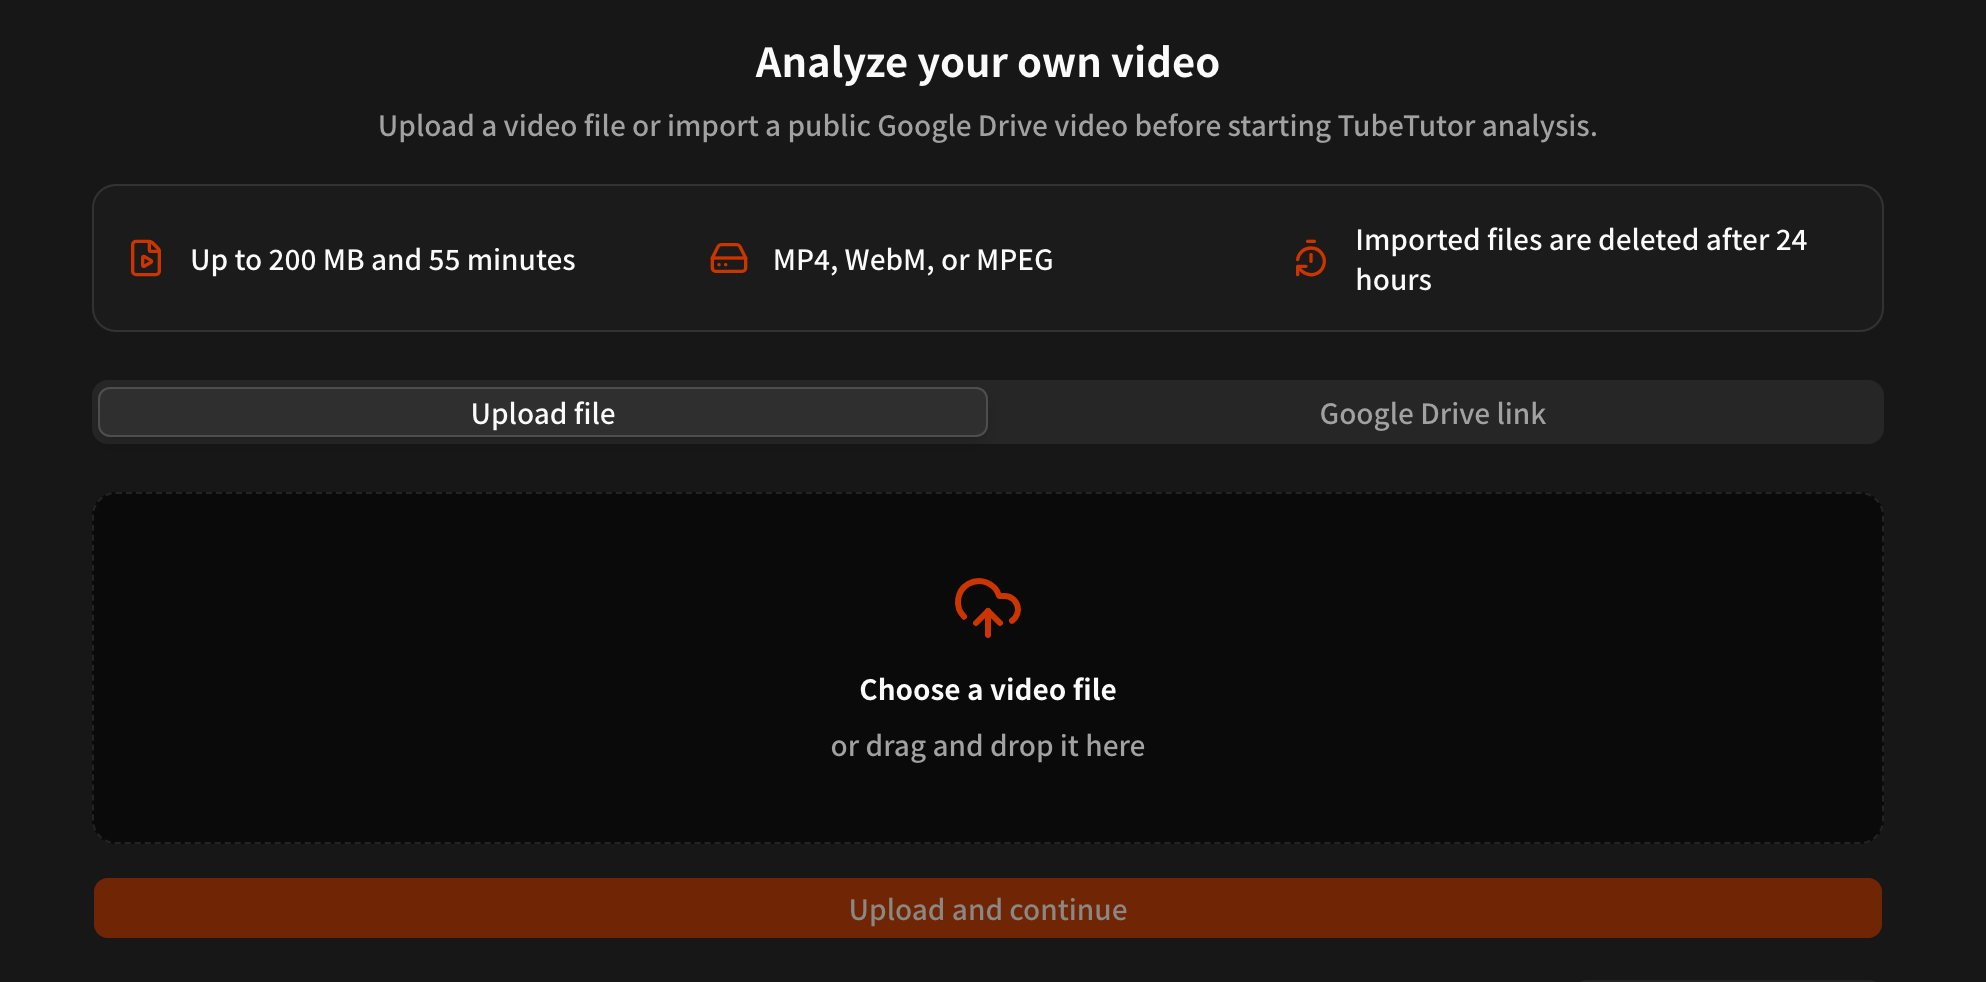
Summarize Uploaded Videos with AI Free – AI Video Summarizer Upload Tool
Summarize uploaded videos with AI using file upload or Google Drive. Learn the 200 MB and 55-minute limits for meetings, lectures, transcripts, notes, and summaries.
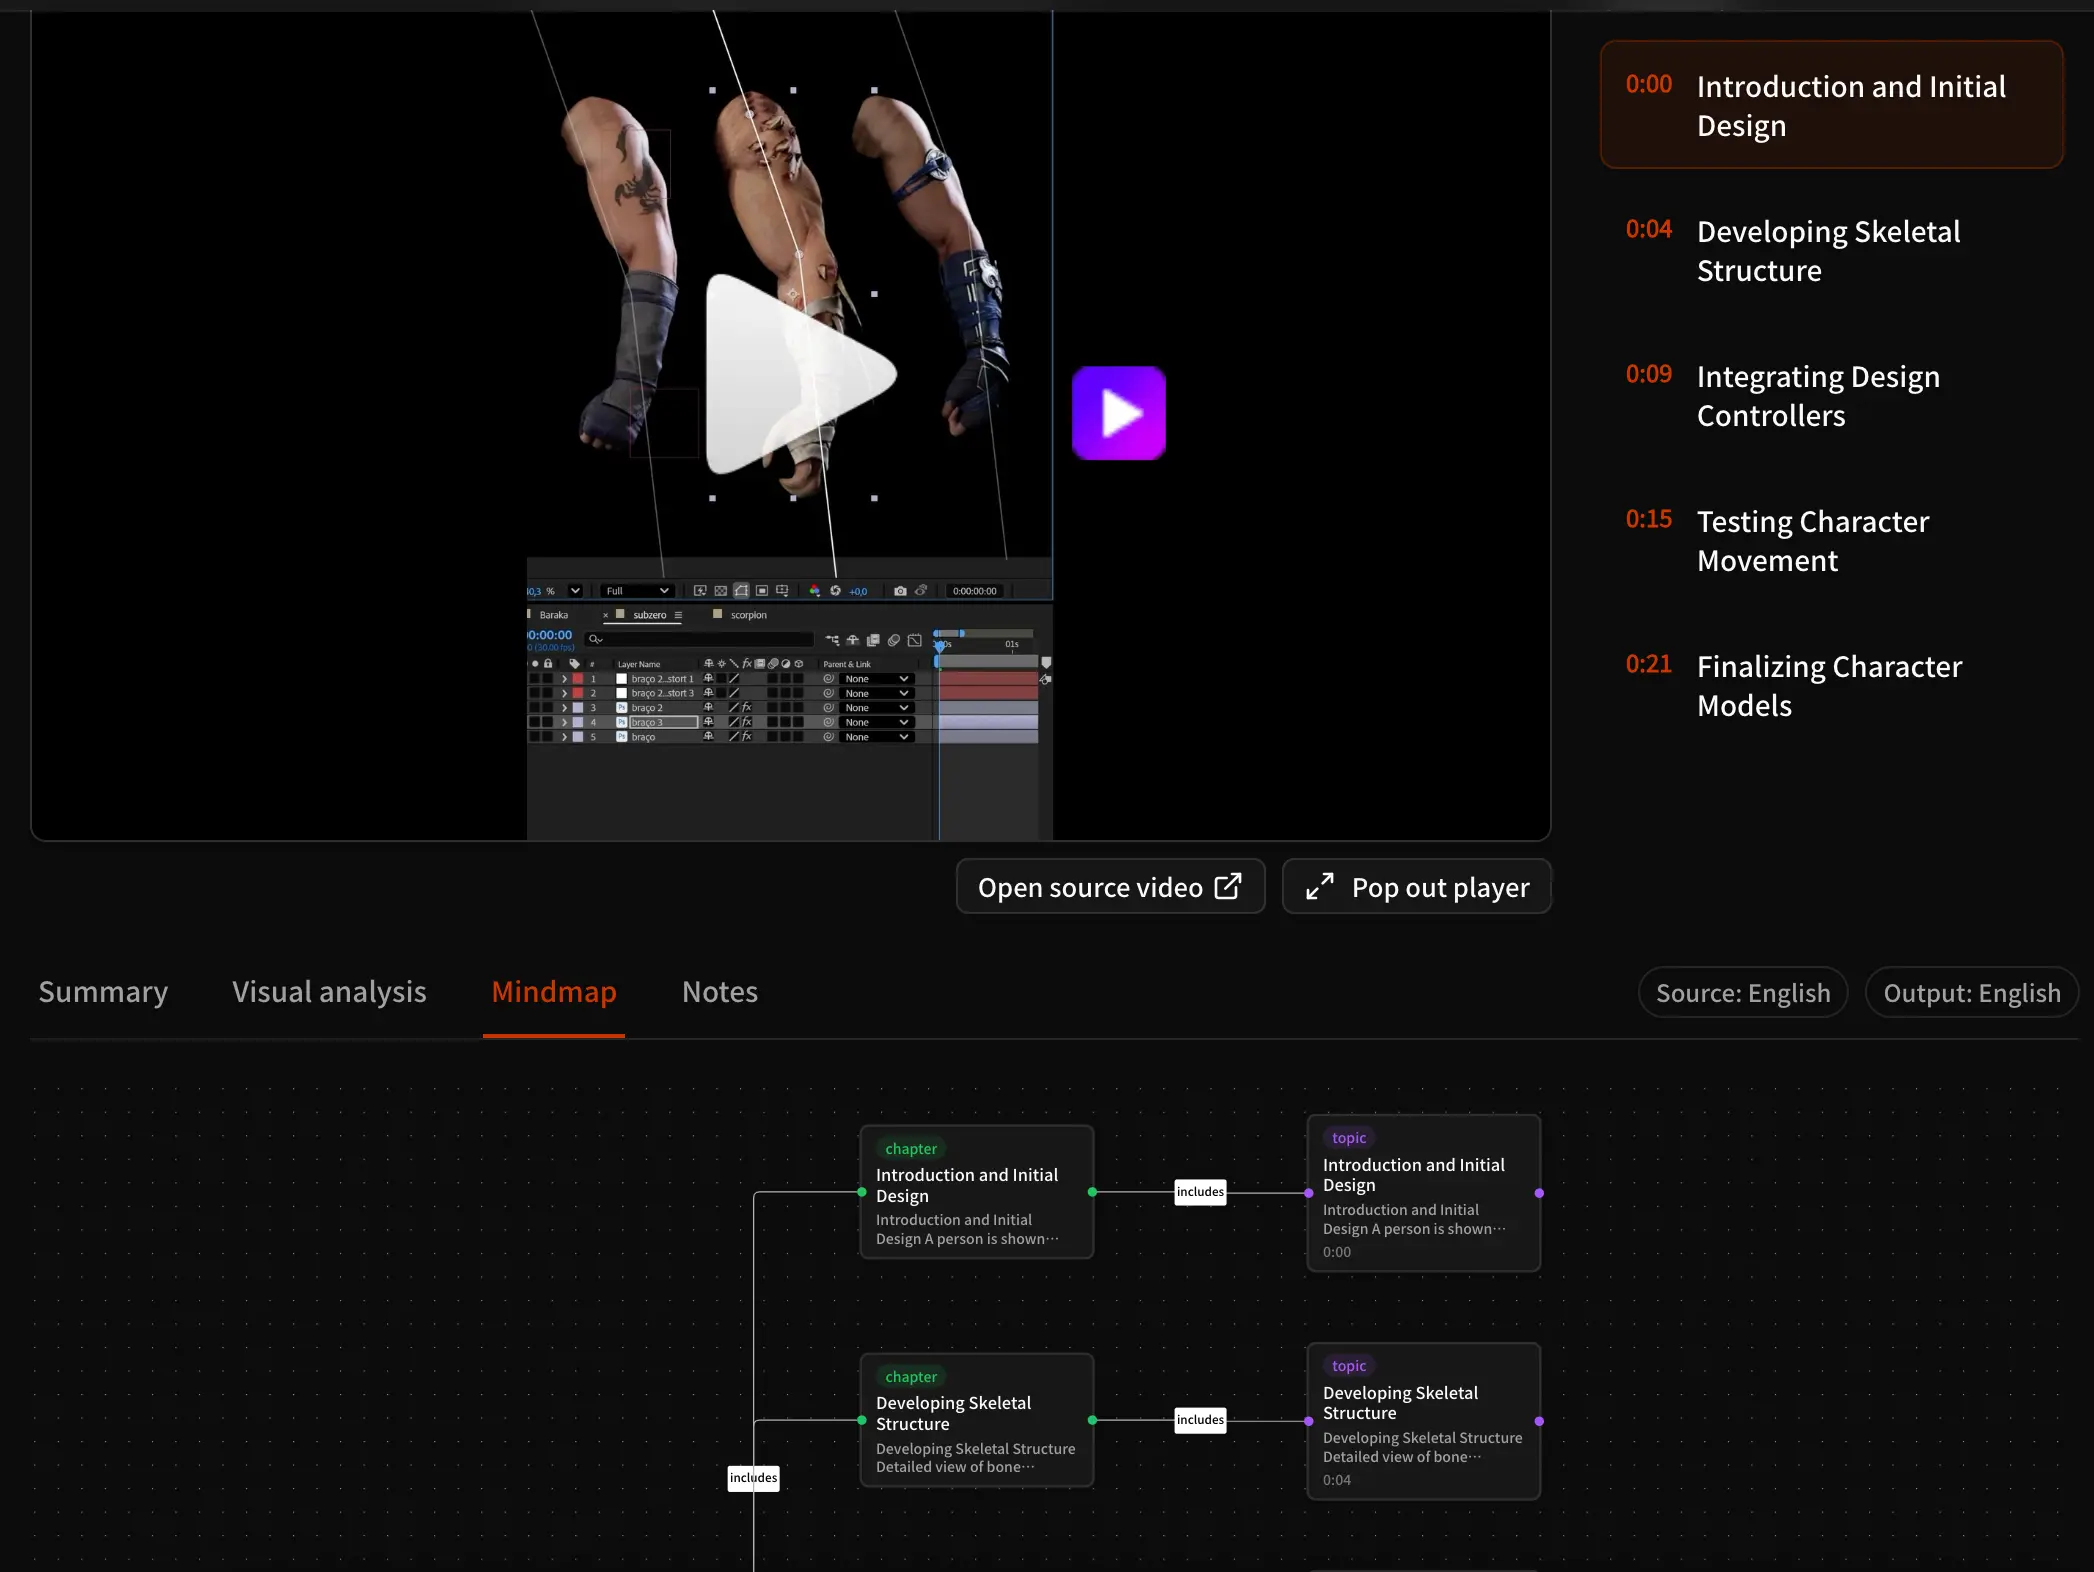
How to Analyze Instagram Reels with AI: A Practical Guide
Learn how to analyze public Instagram Reels with AI, review summaries, transcripts, visual insights, and mind maps, and troubleshoot common limitations.
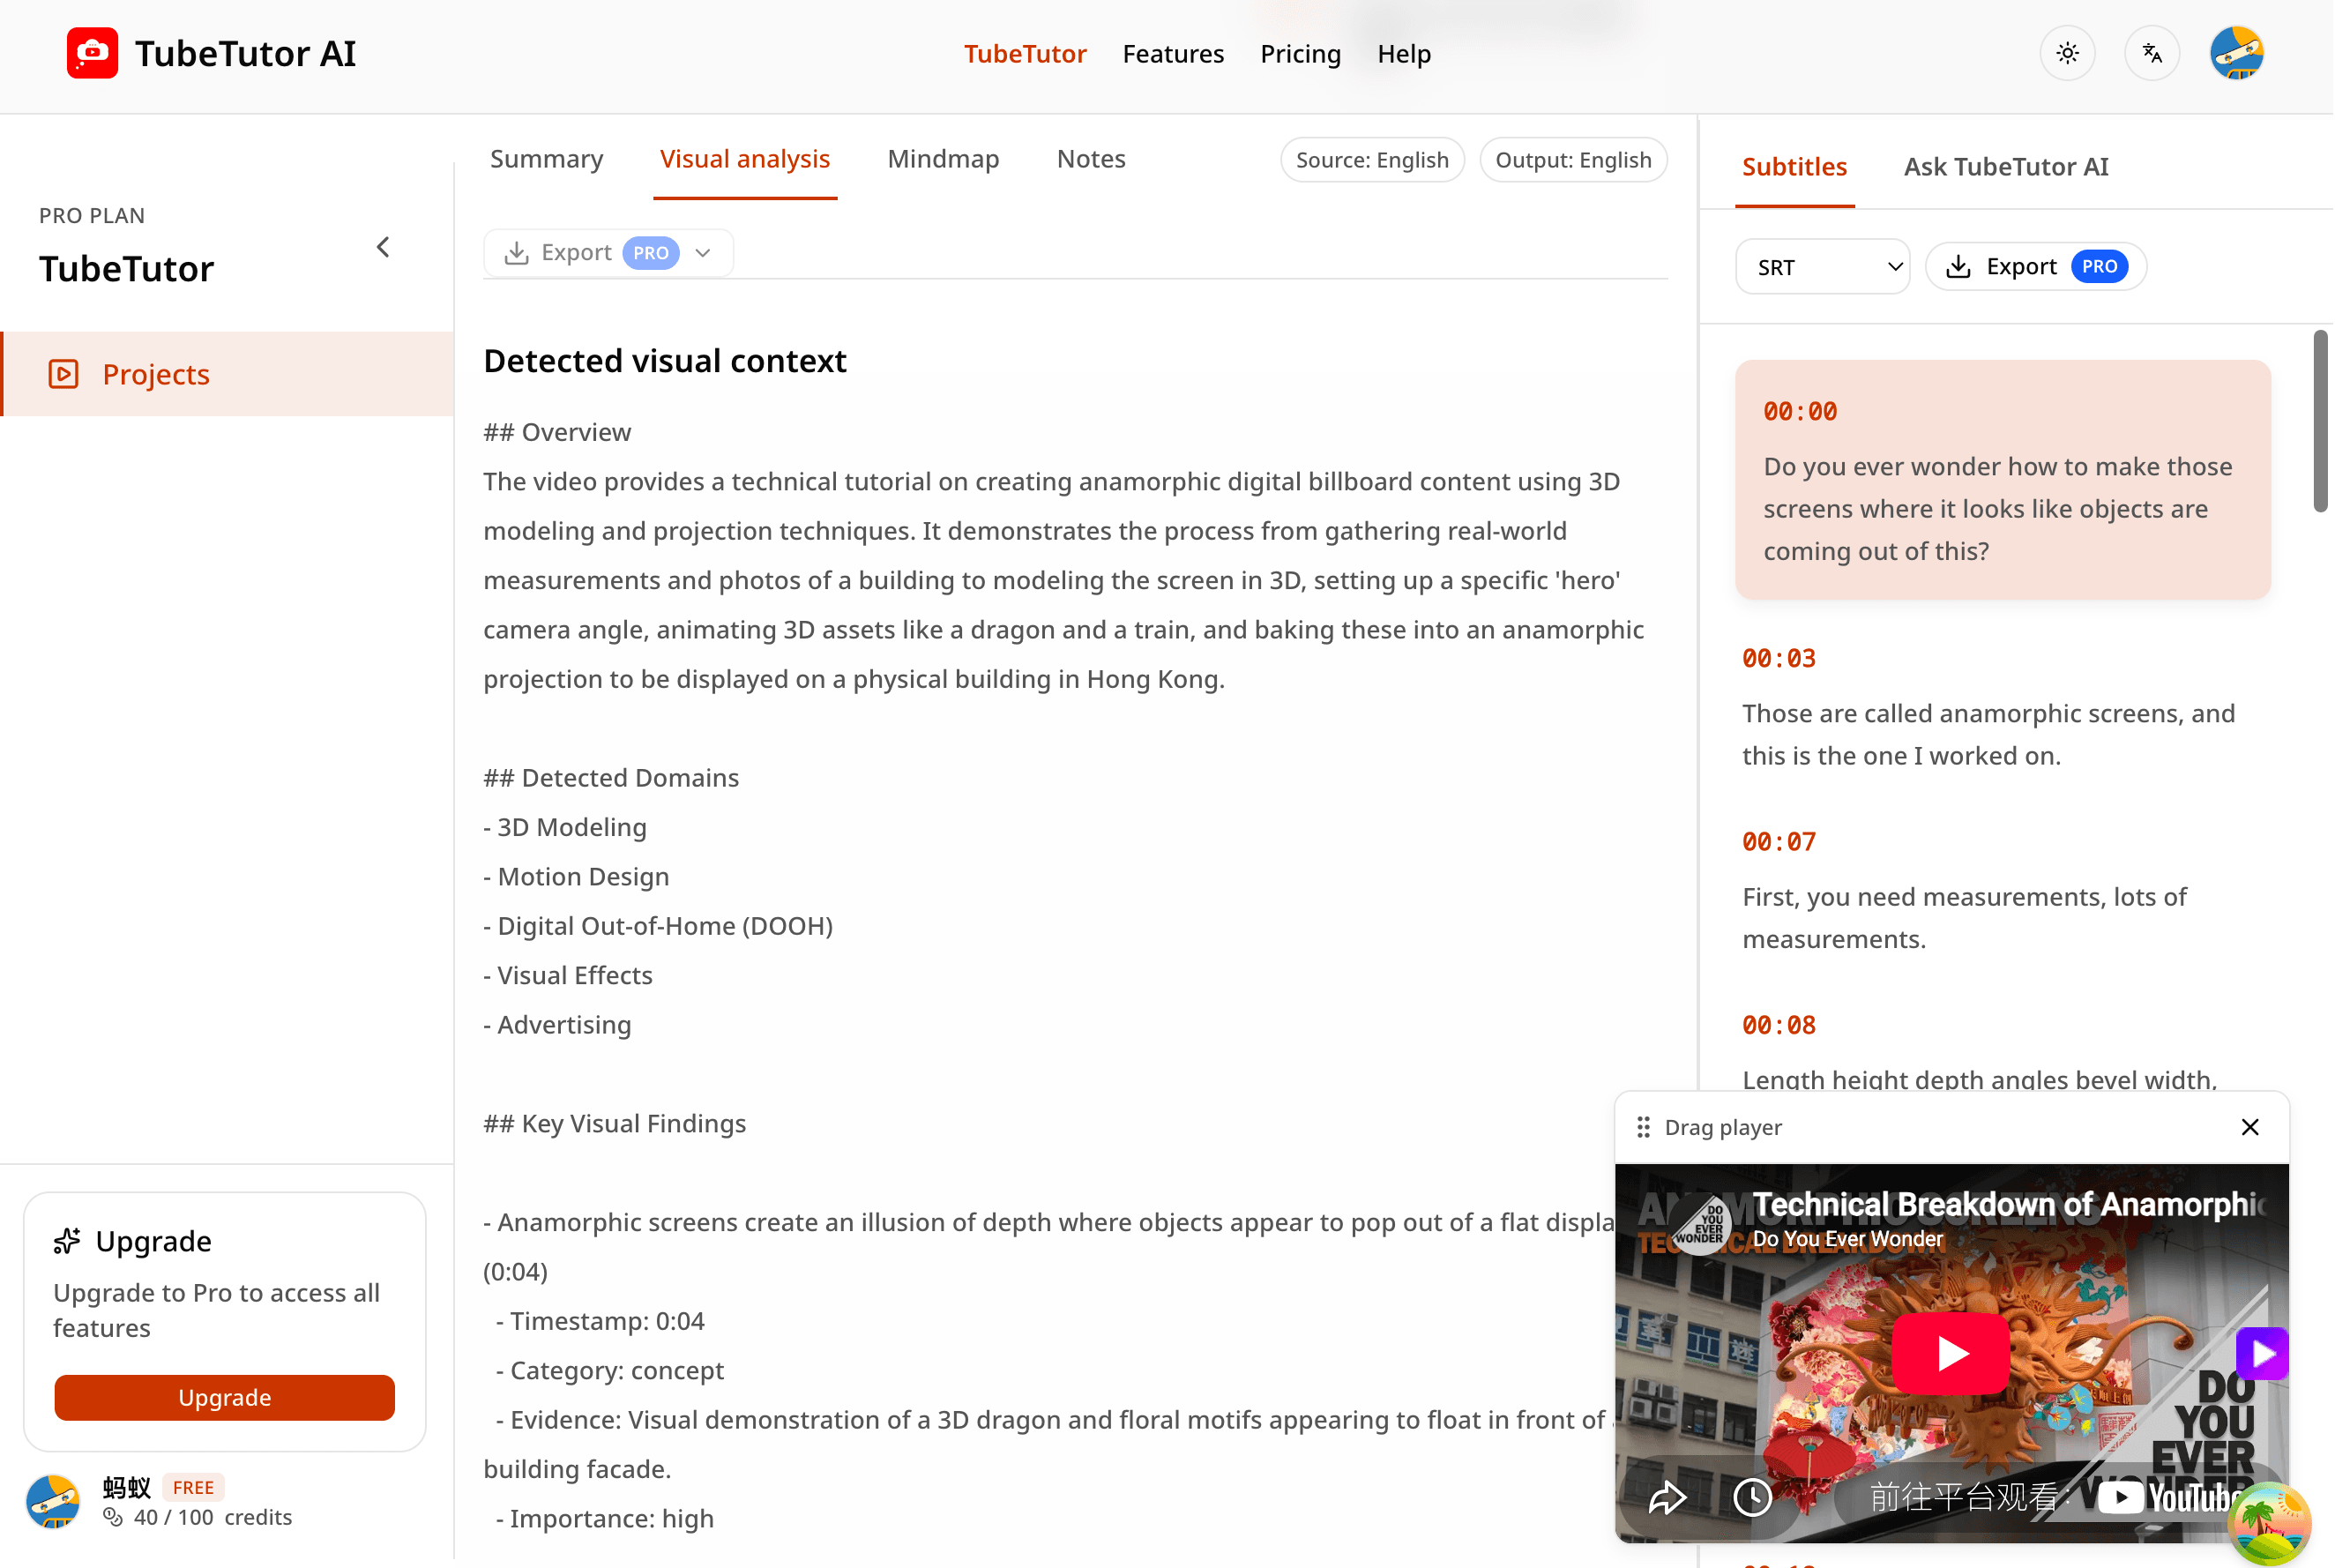
YouTube Transcript to AI Summary: Step-by-Step Guide
Turn a timestamped YouTube transcript into a useful AI summary while preserving source context, checking accuracy, and building better study notes.
TubeTutor Updates
Learn faster from video
Get product updates, AI video learning workflows, and tips for turning tutorials into summaries, mindmaps, and notes.